Dried flowers: 7 modern ways to use them
1. Arrange them in a vase
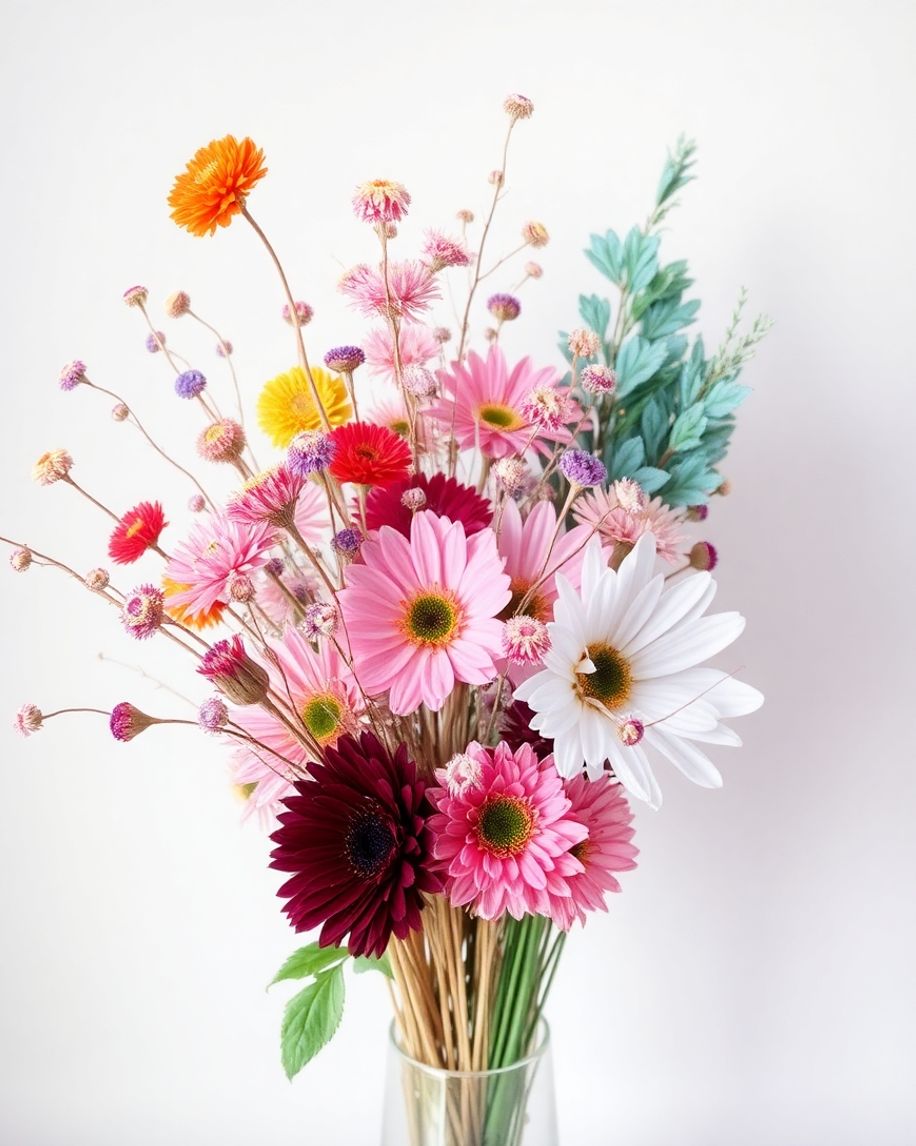
Arranging dried flowers in a vase is a timeless way to add a touch of nature to your home that lasts all year round. Unlike fresh flowers, dried blooms don't need water, making them a low-maintenance option that still brings beauty and elegance to any room.
Start by choosing a vase that suits your style. Whether you prefer a classic glass vase or something more rustic like a ceramic or wicker basket, the container can really set the tone for your arrangement.
Steps to Create a Stunning Dried Flower Arrangement
- Select Your Flowers: Pick a variety of dried flowers and grasses. Think about mixing different textures and colours to create depth and interest. Popular choices include lavender, baby’s breath, and dried roses.
- Prepare Your Vase: If your vase is deep, consider adding some floral foam at the bottom to help hold the stems in place. This can help you achieve the desired height and arrangement shape.
- Arrange the Flowers: Start with the tallest stems in the centre or at the back if the arrangement will sit against a wall. Gradually add shorter flowers around them. Trim the stems as needed to create a balanced look.
- Add Fillers: Use smaller flowers or dried grasses to fill any gaps. This can add volume and make the arrangement look fuller.
- Finishing Touches: Step back and look at your arrangement from different angles. Adjust any flowers that seem out of place, and ensure the overall look is harmonious.
Tips for Maintaining Your Dried Flower Arrangement
- Location Matters: Keep your arrangement away from direct sunlight to prevent fading.
- Dust Regularly: Use a soft brush or a hairdryer on a cool setting to gently remove dust.
- Avoid Moisture: Dried flowers are sensitive to humidity, so keep them in a dry spot.
By following these simple steps, you can create a beautiful dried flower arrangement that will be a charming addition to your home decor.
2. Weave into a wreath or flower crown
Creating a wreath or flower crown using dried flowers is not only a delightful craft but also a charming way to adorn your home or yourself. Whether you’re planning a rustic wedding, a summer festival, or just want to bring a touch of nature indoors, dried flower wreaths and crowns can add a whimsical, natural beauty.
Step-by-Step Guide to Making a Dried Flower Wreath
- Gather Your Materials: Start by collecting a variety of dried flowers. Think about colours and textures that complement each other. You’ll also need a wreath base, which can be made from wire, grapevine, or even a sturdy cardboard circle.
- Prepare the Flowers: Trim the stems of your dried flowers to about 2-3 inches long. This will make them easier to attach to your wreath.
- Assemble the Wreath: Begin by securing a small bunch of flowers to the base using floral wire. Continue adding flowers in small bunches, overlapping them slightly to cover the stems and wire. Work your way around the base until it’s fully covered.
- Finishing Touches: Once you’re happy with the arrangement, secure any loose flowers with additional wire or hot glue. You can add a ribbon for hanging or to decorate.
Crafting a Dried Flower Crown
- Choose Your Flowers: Select a mix of small, delicate flowers and larger statement blooms. Dried lavender, baby’s breath, and roses are popular choices.
- Create the Base: Measure a piece of floral wire to fit around your head, leaving a little extra to twist together at the ends. Wrap the wire with floral tape for comfort.
- Attach the Flowers: Starting at one end of the wire, attach small bunches of flowers using floral tape. Overlap each bunch slightly as you work around the wire.
- Adjust and Secure: Once the crown is complete, try it on and make any adjustments. Secure the ends of the wire together, and add extra tape or glue if needed to keep the flowers in place.
These wreaths and crowns not only look stunning but are also a sustainable way to enjoy flowers year-round. Plus, they carry a bit of the outdoors inside, brightening up any space or occasion with their timeless beauty.
3. Make coasters
Crafting Unique Coasters with Dried Flowers
Making your own coasters with dried flowers is not only a creative project but also a practical way to bring a bit of nature into your home. These coasters are perfect for adding a personal touch to your coffee table, and they make fantastic gifts too!
What You Need:
- Dried flowers: Choose small, colourful flowers or petals that will fit nicely within your coaster moulds.
- Resin: Clear resin works best to showcase the beauty of the flowers.
- Silicone moulds: These will shape your coasters and make it easy to remove them once set.
- Mixing cups and sticks: For preparing and pouring the resin.
- Gloves and a mask: Safety first! Resin can be a bit messy and should be handled with care.
Step-by-Step Guide:
- Prepare Your Workspace: Lay down some newspaper or a plastic sheet to protect your surfaces.
- Arrange Your Flowers: Lay your selected dried flowers in the silicone moulds. Think about how they'll look from different angles once the resin is poured.
- Mix the Resin: Follow the instructions on your resin kit. Usually, this involves mixing two parts together until fully combined.
- Pour the Resin: Carefully pour a thin layer of resin into each mould, just enough to cover the base.
- Set the Flowers: Gently place your flowers onto the resin layer, arranging them to your liking.
- Pour More Resin: Once your flowers are in place, pour more resin to cover them completely. Make sure there are no air bubbles by gently tapping the moulds.
- Cure the Coasters: Allow the resin to cure for 24-48 hours, depending on the instructions.
- Remove and Enjoy: Once fully set, pop the coasters out of the moulds and they're ready to use!
These handmade coasters not only protect your surfaces but also add a touch of elegance and nature to your home. Plus, they’re a great way to preserve the beauty of flowers. If you're feeling festive, consider incorporating Christmas foliage like holly and pine for a seasonal twist!
4. Add to gift wrapping
Gift wrapping is an art, and adding dried flowers can transform a simple package into something truly special. Imagine the delight on someone's face when they receive a beautifully wrapped gift adorned with delicate dried blooms. It's not just about the gift itself, but the thought and care put into its presentation.
Start by choosing a wrapping paper that complements the colour of your dried flowers. Neutral tones like kraft paper work wonders, allowing the flowers to really pop. You can also go for a more colourful wrap if you want a vibrant look.
Once you've wrapped the gift, it's time to add the floral touch:
- Select Your Flowers: Choose small, flat dried flowers for the best effect. Think lavender sprigs, baby's breath, or even tiny roses.
- Secure with Twine: Use natural twine or ribbon to tie around the gift. Before tying the final knot, slip in your selected dried flowers.
- Finish with a Bow: Complete the look with a bow or a simple knot, ensuring the flowers are securely in place.
This technique is perfect for all occasions, from birthdays to weddings. Not only do dried flowers add an elegant touch, but they also offer a sustainable alternative to plastic bows and ribbons. Plus, they can be kept as a keepsake, reminding the recipient of your thoughtful gesture long after the gift has been opened.
So next time you're wrapping a present, why not add a sprinkle of dried flowers? It's a small touch that makes a big impact.
5. Add to your phone case
Personalise Your Phone Case with Dried Flowers
Ever thought about giving your phone case a bit of a nature-inspired makeover? Adding dried flowers to it is a brilliant way to keep a touch of nature with you all the time. Here’s how you can do it:
- Choose Your Flowers: First, pick out your favourite dried flowers. Smaller blooms like daisies or lavender work great because they fit nicely on the case. Make sure they're completely dry and flat.
- Prepare Your Case: Clean your phone case thoroughly to ensure the flowers stick well. A clear case works best if you want the flowers to be the star of the show.
- Arrange the Flowers: Lay out your dried flowers on the case to find a design you like. Odd numbers often look more appealing, so try using three or five flowers.
- Secure the Flowers: Once you’re happy with the arrangement, use clear resin or PVA glue to fix the flowers in place. Be careful to apply just enough to hold them without making a mess.
- Let it Dry: Allow the glue or resin to dry completely before using your phone case. This ensures the flowers stay put and look their best.
Adding dried flowers to your phone case not only makes it unique but also keeps those cherished keepsakes close at hand. This little project is perfect for anyone wanting to carry a bit of the outdoors with them wherever they go. Plus, it’s a fun way to express your style and creativity!
6. Press into your journal, cards or personal letters
Pressing Dried Flowers for Personal Touch
Adding dried flowers to your journal, cards, or personal letters is a charming way to bring a bit of nature into your everyday life. It's like capturing a moment in time and preserving it in the pages of your personal keepsakes. Here's how you can do it:
- Choose Your Flowers: Opt for flowers that are naturally flat or small, like pansies or violets. Avoid thick, bulky flowers as they don't press well.
- Pressing Process: Place your chosen flowers between two sheets of parchment paper. Then, sandwich them in a heavy book or a flower press. Leave them for about a week to ensure they're completely dried and flat.
- Design Your Layout: Before glueing, arrange the flowers on your journal or card to see what looks best. Get creative—there's no right or wrong here.
- Secure the Flowers: Use a thin layer of clear-drying glue to attach the flowers. Be gentle to avoid damaging the delicate petals.
- Add Personal Notes: Once your flowers are secure and dry, add your personal notes around them. This makes your journal or letter even more special.
Pressing flowers is not just about aesthetics; it's about preserving memories. Whether it's a bloom from a memorable walk or a flower from a special bouquet, dried flowers add a unique, eco-friendly charm to your personal items. Enjoy the process and let your creativity flow!
7. Create mini-art pieces

Creating mini-art pieces with dried flowers is a delightful way to bring a touch of nature into your home. It's not just about preserving beauty; it's about crafting something unique and personal. Let’s dive into the world of dried flower art!
Start with a Clear Frame
One of the simplest ways to make art with dried flowers is to use a clear frame. This method allows you to showcase the delicate beauty of each petal. Choose a selection of your favourite dried flowers, perhaps from your garden or a special bouquet. Arrange them in a way that pleases you, and then secure them between the glass panes of the frame. This creates a stunning piece that can be displayed on a wall or a desk, adding a natural touch to any space.
Try Resin Art
For those who love a bit of crafting, incorporating dried flowers into resin art can be incredibly rewarding. You can create beautiful pieces like coasters, jewellery, or decorative items. Simply arrange your dried flowers in a mould, pour in the resin, and let it set. The result is a glossy, durable art piece that captures the flowers' colours and shapes perfectly.
Make a Collage
If you’re feeling particularly creative, why not try making a collage? Use a sturdy piece of paper or canvas as your base. Arrange your dried flowers in an artistic pattern or scene, and glue them down. You can add other elements like leaves, twigs, or even bits of fabric to enhance your design. Once you’re happy with your arrangement, frame your collage to preserve it.
Creating mini-art pieces with dried flowers not only preserves their beauty but also allows you to express your creativity. Whether you choose to frame them, encase them in resin, or make a collage, these pieces are sure to bring joy and a touch of elegance to your home. Plus, they make for wonderful, heartfelt gifts that anyone would cherish. So, gather your dried flowers and let your imagination run wild!